Enjoy our healthy sourdough treats today!

How to Rehydrate a Dehydrated Sourdough Starter
A beginner's guide to bringing your starter flakes back to life!
Samantha @ Crumbs & Co. Bakery
6/3/20252 min read
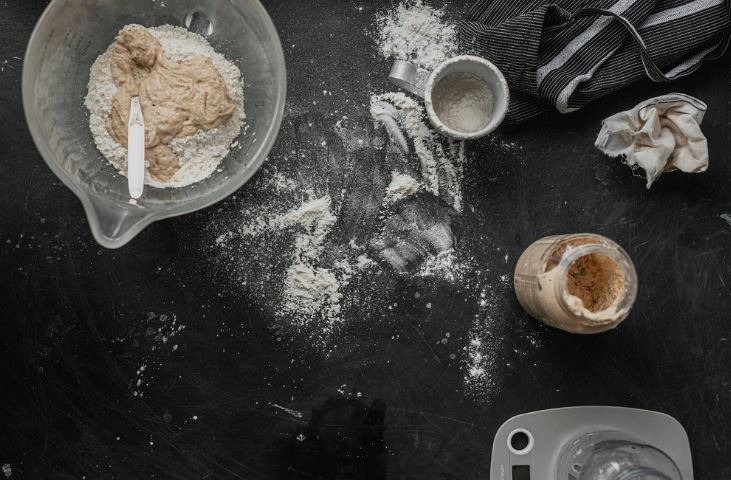
Let the fermentation begin!
So, you’ve got your hands on a packet of dehydrated sourdough starter—maybe from a friend, a bakery (like us at Crumbs & Co.), or your favorite online shop. That tiny bit of dried culture may not look like much, but it holds powerful potential. With a little time, care, and patience, you can bring it back to life and begin your own sourdough journey.
Here’s everything you need to rehydrate and revive your dehydrated sourdough starter into a bubbly, active culture ready for baking.
What You'll Need
Equipment:
A clean glass jar or container (at least 12–16 oz capacity)
Measuring spoons and a digital scale (recommended for accuracy)
Stirring utensil (spoon, chopstick, or silicone spatula)
Loose-fitting lid or clean kitchen towel
Ingredients:
Dehydrated sourdough starter (about 1 tablespoon)
Filtered or dechlorinated water (chlorine can inhibit the starter)
Unbleached all-purpose flour (or the flour type recommended with the starter—whole wheat or rye can also help boost activity)
Step-by-Step Instructions
Day 1: Rehydrate the Starter
Add starter to the jar: Place about 1 tablespoon of dehydrated starter into your clean jar.
Add water: Pour in 2 tablespoons (30g) of lukewarm filtered water. Stir gently to help dissolve and soften the dried flakes.
Rest: Let the mixture sit uncovered or loosely covered at room temperature (around 70–75°F) for 3–4 hours. It will start to soften.
Add flour: Stir in 2 tablespoons (15–20g) of all-purpose flour. Mix well until no dry flour remains. It should resemble a thick paste.
Cover and wait: Loosely cover and let it sit at room temperature for 24 hours.
Day 2: First Feeding
Assess your starter: It might not look active yet—that's okay.
Feed it: Add 2 tablespoons (30g) of filtered water and ¼ cup (30g) of flour. Stir until smooth.
Cover and rest: Let it sit at room temperature for another 24 hours.
Days 3–5: Continue Feeding
Check for activity: You may begin to see some bubbles and a tangy aroma—these are good signs!
Begin regular feedings: Once every 24 hours, discard about half of the starter (about ¼ cup), and feed it:
30g (2 tbsp) filtered water
30g (¼ cup) all-purpose flour
Repeat daily until your starter is bubbly, doubling in size within 4–6 hours of feeding, and smells pleasantly tangy.
When Is It Ready to Bake?
Your starter is ready when:
It doubles in size within 4–6 hours of feeding
It smells mildly tangy, yeasty, and clean
It passes the float test: drop a small spoonful into a glass of water—if it floats, it’s aerated and ready
Tips for Success
Temperature matters: Try to keep your starter in a warm spot (ideally 70–75°F). Too cold and it will slow down.
Be patient: It may take 5–7 days for full revival depending on conditions. Every starter is a little different.
Use clean tools: Keep everything free of soap residue and contaminants.
Final Thoughts
Rehydrating a sourdough starter is a rewarding way to connect with one of the oldest forms of bread-making. It’s also a great intro to baking with wild yeast—and once you’ve got your starter going, you’re just a loaf away from artisan bread, pancakes, muffins, focaccia, and more.
At Crumbs & Co. Bakery, we love helping home bakers bring their sourdough to life. Whether you got your dehydrated starter from us or are starting with one passed down from a friend, know that with care and consistency, you’re reviving a living culture that can nourish generations.
Bakery
Wholesome, organic sourdough baked goods for all.
Contact us
(321) 704-9444
© 2025. All rights reserved.